When taking headshots at coyote make sure you deliver your presents with accuracy.
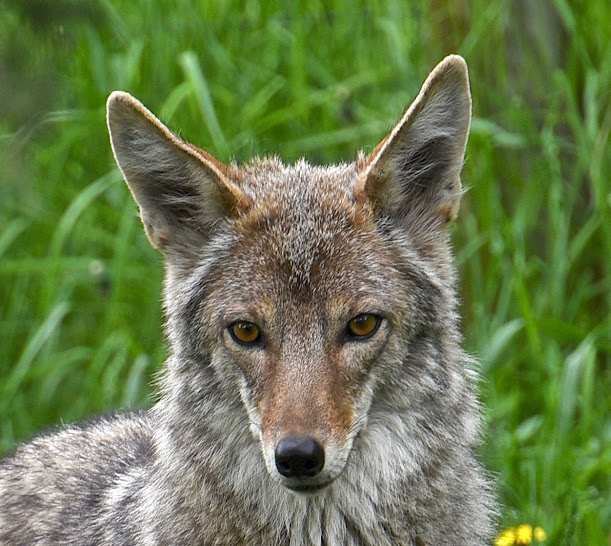
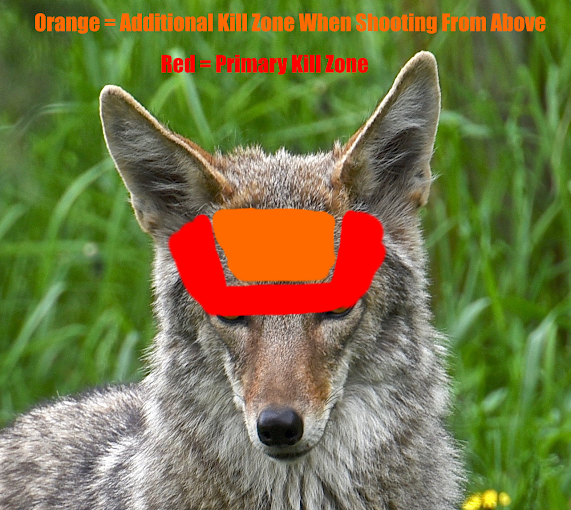
Below I have 2 colors overlayed upon an image of a coyote's head. You can see the unaltered image above.
The red "Primary Kill Zone" is where I would recommend placing a frontal or side shot into the skull. If you venture too high from the line between the eyes, eventually the projectile may skip off the skull like a rock skipping on the surface of water (video displaying impact point too high on skull here). My primary kill zone is probably a lot more strict than what most people would draw.
This video demonstrates a side shot into the skull. I'd say it was a tad low but it hit the instant off switch.
Included is the orange "Additional Kill Zone" which is a good addition for when you might be shooting from an elevated position. To be clear, when I am aiming from a tree stand or other elevated position I will include the red and the orange areas when looking to make the kill shot.
To learn more about how to take coyotes with an air rifle please visit A Guide To Controlling Coyote in Urban Environments and read this section about headshots in the guide.
This video demonstrates a good shot placement to the back of the skull.
This video is another frontal shot but a tad high. You can see that the energy dump was very effective.
On each of these animals the projectile dumped all its energy into the skull and did not exit the body. This full energy dump is what you want to see. Distances to targets was between 15-25 yards.
Equipment in all videos:
- FX Impact M3 in .25 caliber air rifle with 700mm slug barrel
- Nielsen Specialty Ammo slugs 38.5 grains at 910 feet per second at the muzzle
- ATN X-Sight 4K Pro scope
- Accu-Tac FC-4 G2 Bipod


No comments:
Post a Comment